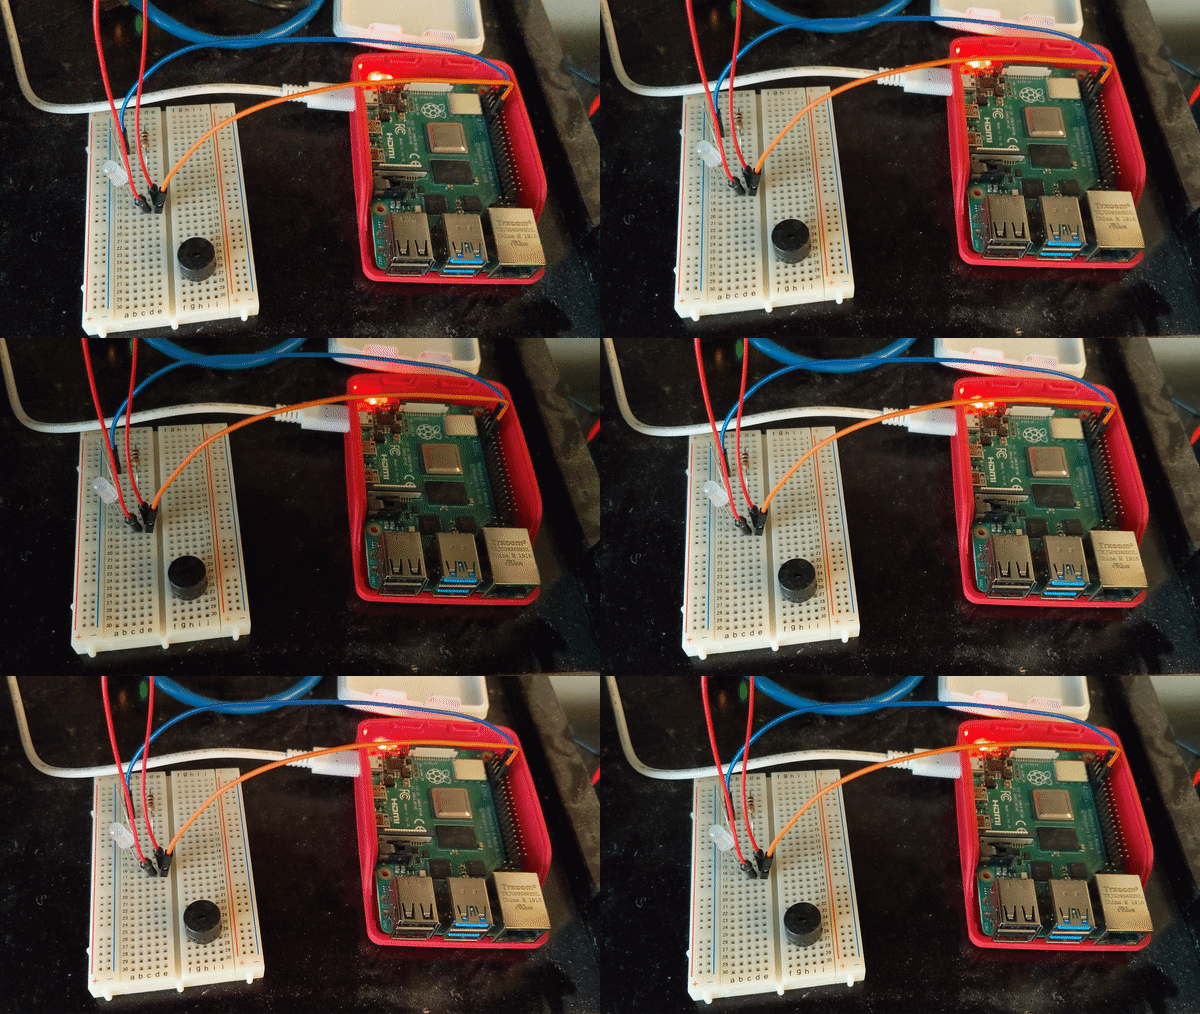
Running on Pi
Ok, so a while back, this site used to be hosted on Azure. For the past 2 months or so however, this site has been running on a Raspberry Pi.
Was it necessary that I move off the cloud to a self hosted solution like this? No, not really. I thought it would be neat though, and be a good learning experience.
As a result, I've compiled this document, which can hopefully make the process easier for other folks to get started.

Prerequisites
Technologies Used
Getting Started
The first step in the process will be getting your microSD card setup with a Raspbian OS image installation.
For the Raspbian OS installation, you'll be given a choice of which image to install. One has a desktop, or user interface, and one does not have a user interface. This tutorial is agnostic to whatever choice you make here, so pick your poison haha.
Note: If you opt for the desktop version, make sure your microSD has at least 8GB.
Headless Setup
This section is mainly applicable if in the above section you chose the Raspbian OS image that did not have a desktop. Raspbian Lite.
After you have gotten a Raspbian Lite OS image installed onto your microSD card, you'll likely want to bootstrap it such that you can login to it via SSH and have it connect to your network on boot up.
Updating Raspbian OS
After you've got Raspbian all booted up and you're all logged in, I'd recommend getting the latest updates.
Enhancing Security
Seeing as the goal is to start exposing your Raspberry Pi to the internet, it is good to take precautions now to improve the security of your configuration.
Nginx - Reverse Proxy Setup
Nginx passes requests from the port it listens on, typically 80 and/or 443, to 1 or more of your services running on different ports. I won't go into detail here on getting this setup, but I found a really helpful article that aided me in getting Nginx setup.
Nginx also has pretty comprehensive documentation, if you wanna dig in deeper and learn more about what can be configured and done.
ddclient - Dynamic DNS
Sweet! So far, you've gotten your Raspberry Pi setup with Raspbian, and you've gotten Nginx setup, proxying requests to your service. This means if you visit the IP address of your Raspberry Pi in the browser, it should be hitting your service now.
Now, you'll likely want to associate your public IP address to the domain of your site. The idea being, user hits your domain, that maps to your public IP address, the request is then forwarded to your Raspberry Pi likely via your router, which then forwards it to your service.
The problem for most folks with their public IP address, is that it is assigned by their internet service provider, and thus could potentially change. The goal of incorporating ddclient, is to allow for dynamically updating your domains DNS record, such that it maps to your current IP address.
The continuation of the article I linked to above in the Nginx section, is really helpful in getting ddclient up and running or getting familiarized with it.
ddclient supports multiple different dynamic dns providers, make sure to check yours is supported.
Port Forwarding
If you read through the article linked in the above ddclient section, then you've likely already touched on this subject.
Your router needs to forward requests on certain ports to your Raspberry PI, so it can start serving internet traffic. In this case the ports your router should forward are 80 and 443.
Unfortunately there isn't a standard way to do this across all routers, but luckily there are guides on how to forward ports for multiple routers.
Note: If you haven't already, it may be more reliable at this point to assign a static IP address to your Raspberry Pi on your local network.
Additional Resources
Below are just some additional resources that I had used when configuring this site to run on a Raspberry Pi. Some of the resources are particularly related to the setup and infrastructure of this site, but they may be useful to some folks.
